Wednesday, August 3, 2011

Books to Love: "The Little House" by Virginia Lee Burton

Virginia Lee Burton's "The Little House" is one of those books that has been around forever but still captivates new readers every year! It was first published in 1942, but seems timeless - even as it lays the groundwork for some cool history lessons! I loved it as a little girl (a long time ago!) and I love it now!


Make sure to preview or review the illustrations in this book - they are charming and such a large part of the story as a whole! I swear that the house looks like it has a face - and, in fact, the house IS the main character in the book. The theme of curiosity, on the part of the house, leads the readers into the developing story, and their own curious natures will be looking ahead for "what-happens-next!"

Children will be fascinated by the changes in the same old scene, as the days, nights, seasons and years pass. They will see for themselves how the old saying, "The grass is always greener ..." is proven false, as the city encroaches on the little house in the country. Depending on their age and experience, great discussions about the balance between progress and protecting our environment could take place - "progress" is another theme of the story.

There are so many different lessons contained in the text and pictures - changes in clothing, transportation and types of neighborhoods, cycles of day and night, seasons and years - every time you pick it up you can focus on something new!

For an extension activity, use a cutout of a "little house" as a picture-starter. Make available different colors of construction paper in smaller pieces to be cut into shapes for doors, windows and shutters. Use larger paper for mounting the house on and have LOTS of art materials to create the scene of each child's perfect "little house." Have them include things that they think would make it perfect ... after brainstorming and listing! Maybe they would like a pool or a swing, as in the story, or something else!! Have them dictate or write the response to "My Little House would have ..."

For a seasons lesson, divide large paper into four, with four little houses, and have the children decorate accordingly ...leaves sprouting, sun shining, leaves changing, snow falling, ...

If your reader has a great imagination, have them take on the "personality" of one of the big buildings toward the end of the story and tell a story from the building's point of view! Stretch those story-telling brains!! Make sure to illustrate it, as well :)

Have fun!

Monday, August 1, 2011

Character Book Bags

Plush toys that represent characters from books that kids love are so much fun! Curious George, Clifford, Franklin, Madeline, Babar and Mouse (from the Mouse and the Cookie books) are all currently in my collection, to name just a few! Children love to hold them as we read books - it makes reading personal and gives them a tactile connection to the story!


Here's a fun idea that I've done in the past - maybe your kids would like to try it, too! Choose a character that is a favorite with your children and gather up some of the stories that go with that character. Begin a notebook that records the character's adventures while he is "visiting" your house - it might say "Curious George came for a visit today and we decided to make it a beach day! We packed up all of our beach toys and headed off - George made sure to buckle his seatbelt in the car ...." (Have the story dictated by your child  and make sure to read some books that go along with your character, for background.)

Then, when your visit is done, pack it all up - character, notebook and books - in some kind of bag, suitcase or backpack and pass them along to a friend. Have your character spend a night or two with a few different friends, following the same process, and eventually come back to see you again - you'll have fun reading all about his adventures!


Some friends might like to include photos of his adventures - my "Curious George" visited zoos, stores, beaches, the firehouse ... he was strapped into carseats, strollers and tucked in at night ... the opportunities are endless for traveling about! Use your imaginations!

Other friends might like to draw a picture and illustrate the "adventures" of whatever character you choose to travel around. Get some cutting and gluing practice in if you're adding something to the travel notebook and you might attempt a few letters or words of your own story, if you're able! You and your friends will be the authors of a fascinating travel book when you're all done - then, do it again!

Have fun!

Tuesday, July 19, 2011

Simple Travel Games

If you have a car trip ahead of you this summer (or any time!), check out these simple travel game ideas!

To get started you will need:

Plastic Sheet Protectors (I Love These!!)
A clipboard (kids love clipboards!)
Dry-Erase Markers


To play the Traffic Sign Find Game, find Clip-Art of different traffic signs that you might see on your travels - make them up into a page and make as many copies as you want. Insert in a plastic sheet, attach to a clipboard and, as each new sign is sighted, the player will check it off with a big X!! It keeps them busy and helps with visual discrimination. You can sneak in a little math by counting how many signs found? how many left to find? and by discussing shapes and colors! When you've found them all, just erase with a swipe of napkin or tissue and start again!


Use the same format for the Letter Find Game!! Make up a sheet of letters - you can make them all upper-case for beginners or change up the cases and fonts if your children are a little older - and follow the same procedure! Check road signs, store signs, even signs on trucks, etc. ... some letters are REALLY hard to find!!


A blank piece of white copy paper inside a sheet protector can also serve as a write and wipe board for practice of letters, numbers, names - or for drawing on!! Your children will come up with all kinds of uses!!

Have fun!

Wednesday, July 13, 2011

Summer Camp: Pirate Play!

Playing Pirates is always a BIG hit - with boys and girls! Gather some props to make a pretend pirate ship - a large box to decorate would be great, but just arranging some chairs together and tying on some black streamers or fabric to connect them will give your children a place to gather! Add a paper-plate ship's wheel  and they will be set to go!

Get in a bit of geography by having a globe on hand and spinning it to choose where you are setting sail for. Have the children find "home" on the globe as well! If there's no globe available, a large map will do :)

Every pirate needs a spyglass, so each child should start out with a paper towel tube and decorate accordingly - use markers or stickers to make them really cool! There are lots of clip-art pieces on Google images to try out - pick a few and assemble!

If you have any eyepatches lying around, or other pirate regalia, put them out in a dress-up bin - try some all-purpose vests turned inside out and some old shirts cut with ragged edges to make pirate gear! A sash cut from red and white striped fabric or an old scarf pulls the whole look together!


For more crafts, supply a key with simple mapping symbols and paper and markers for the children to make some maps - don't forget a big X to mark the spot where the treasure is!  If you're looking for more fine motor practice, you can find free pirate coloring sheets at several sites on the internet, as well!

Before all the fun begins, come up with a "treasure" to be split between the pirates - beaded necklaces from the party store and "gold" coins work well - and hide it all in a special container somewhere. Then, devise some clues that will guide the group from place to place, each time to find the next clue until the end of the hunt! Here are some to get you started:


Treasure Hunt!
Cut these clues apart and hide them as directed – or make up your own!


Under the fence where the squirrels run                        (have this ready to start the action!)
Look for clue #1!


Find a toy that’s the color blue – that’s                                   (hide this under a fence!)
Where you’ll find clue #2


Look around the base of the big tree                                       (hide this under or near a blue toy!)
If you’re looking for clue #3


Beside a window or a door,                                                  (hide at the base of a tree!)
You will find Clue #4


Look under a rock or two                                                     (hide beside a window or door)
To find the fifth and final clue!


This clue will send you around the lot                                         (hide under a rock)
Until you find where X marks the spot!

 (attach a rolled up REAL treasure map to the last clue -  ready to point out where you’ve hidden your “treasure"!)
 

If your treasure includes some gold coins, get in a little fun "arrrr"ithmetic - counting and adding up sums!

For snacks, try some "treasure" goldfish crackers in silver cupcake papers or some pretzel logs and fruit roll-ups cut up to form into a pirate ship - fun!

Books to read with your little pirates:
"Shiver Me Letters: A Pirate ABC" by June Sobel
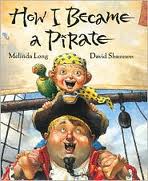
"How I Became A Pirate" by Melinda Long
"The Night Pirates" by Peter Harris
"Tough Boris" by Mem Fox
"Grandma and the Pirates" by Phoebe Gilman
"What's Inside a Pirate Ship"

Have a great time!

Monday, July 11, 2011

Summer Camp: Knights and Ladies of the Castle!

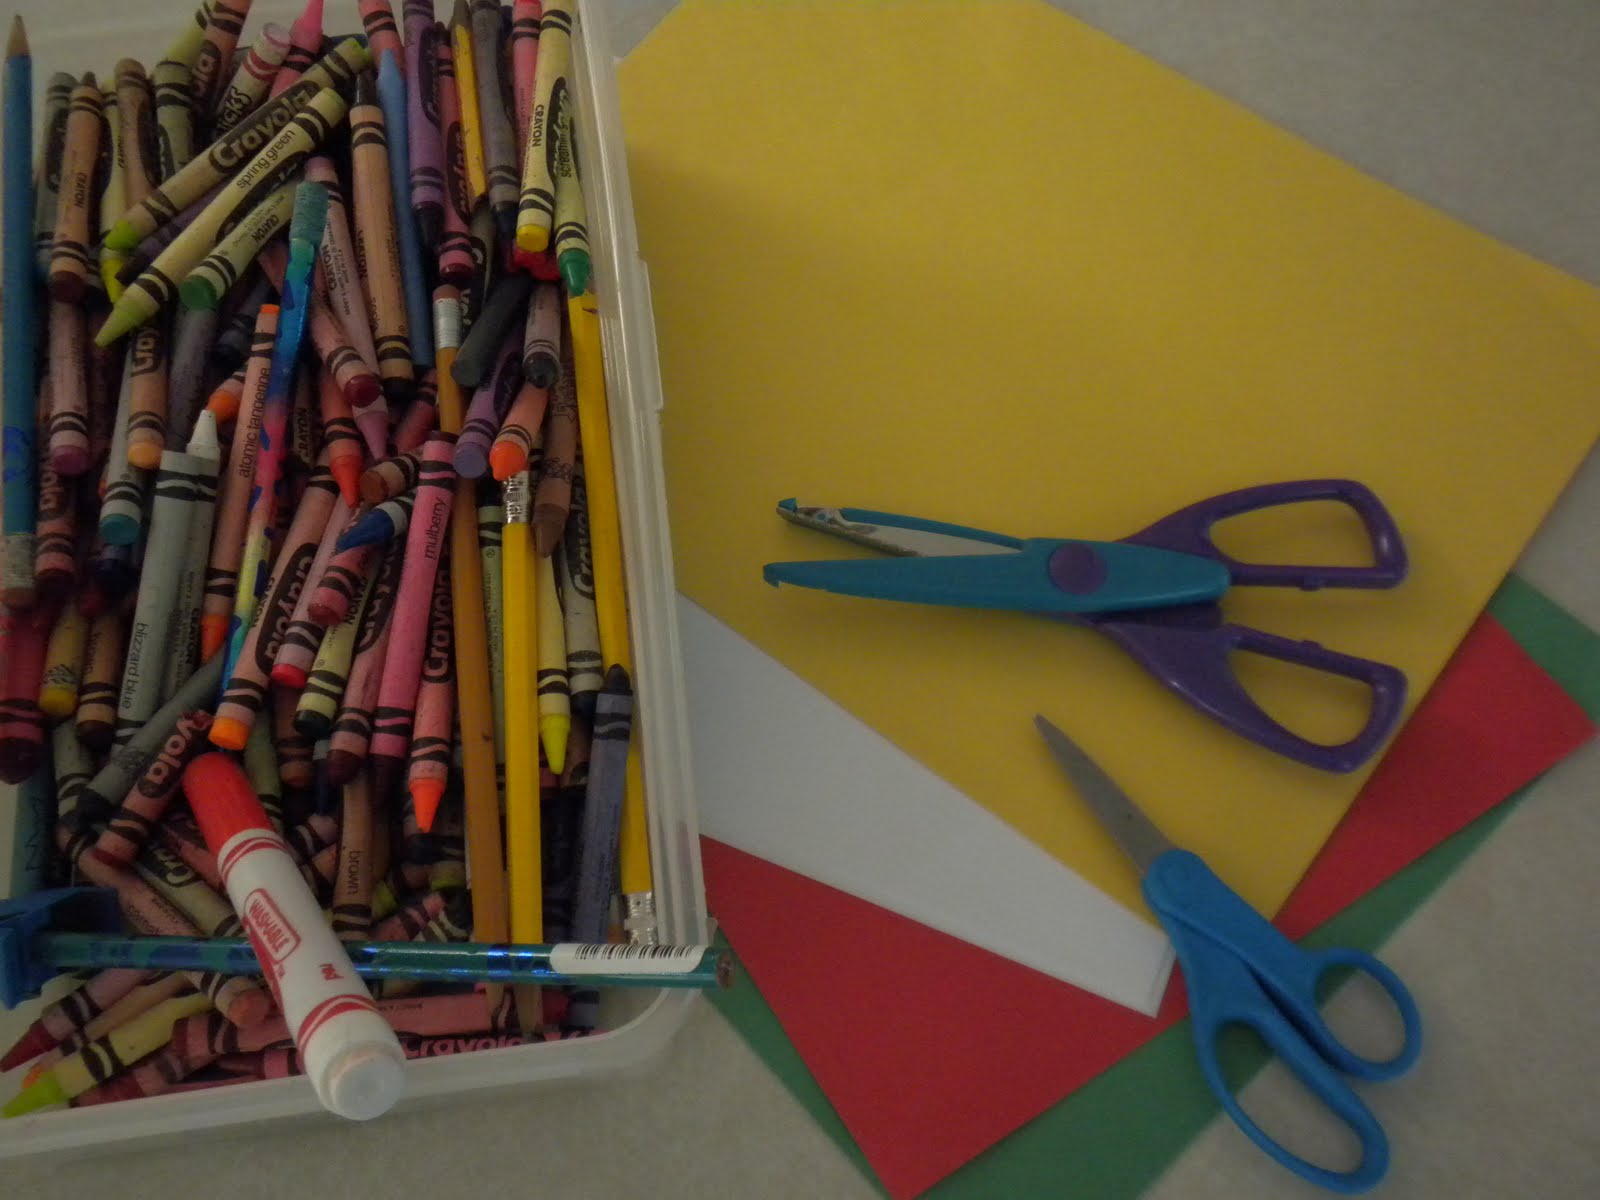
Get ready for this week's camp idea by assembling a few arts and crafts supplies: some cardboard, markers or paint, some craft foam and writing materials.

Set up some props to center your activity, either outdoors or indoors. Mark this area by hanging some sheer fabric or paper streamers or use my idea - take a 10' by 10' outdoor tent canopy (borrow one if you can) and only raise it up to half-height. This makes a perfect castle area for pretend play, after you hang a few decorative flags and some streamers! You might want to designate one or two special chairs as thrones and have some space for craft assembly and "fine dining."

Of course, dressing up is always fun - see what you have in the way of royal garb and add fabric or towel cloaks, if needed. Jewels, such as party-store rings and beads of all colors go over well, also :)

For crafts, start with a crown or tiara for your young royals. Every prince or princess, knight or lady likes a crown! Use light cardboard or craft foam to prepare some crown shapes beforehand (or order from a catalog supply) and then make available some glittery baubles and colored foam pieces to make them sparkle. It's always interesting to see who will make theirs a repeating pattern and who will go for "more is more!"


Making a shield with your personal crest is next on the fun craft list! Cut some small shields out of cardboard with long rectangular strips to be mounted on the  back for holding. Decorate as you wish with your favorite things - symbols, initials, cut-outs, stickers, whatever you want! Stripes of different colors or contrasting colored tapes could also be fun! When you have it just the way you want, turn it over and attach your handle - now you're ready for anything!


When you're ready for another activity, story-telling is an old favorite "at court." If you want to use props, you could use paper cut-outs, or copies from your favorite stories (mount them on a craft sticks for puppets) or maybe you have a set of finger puppets lying around - I've had these for a long time (IKEA has great little finger puppets!).

Lastly, write your own fairy tale!  Draw or copy some pictures and have your children dictate a beginning, middle and end of a story - make sure there's some action (maybe a witch or a dragon!) and a happy ending ... and dress it all up with a special cover - it will become a new favorite!

When it's time for snacks, serve your royals on a silver platter - maybe some fancy cheese and crackers and a bowl of fruit - with lovely napkins and a special cold drink! Have fun!

Thursday, July 7, 2011

Summer Camp: Pretend Camping!

When the summer starts to get "old" for your kids, here's a do-it-yourself fun idea: hold your own summer camp days, right at home!

All you need is a little pre-planning and some imagination - start now, while the fun is still fresh and plan ahead for later in the summer!

In the past, I've held camp during August (basically crafts, games, stories and snacks!) - parents and children were looking for things to do by that time of the summer! Plan a morning full of activities - you could even switch off with another parent or two to free up some me-time!! It's always more fun with a few:)

I'll start you off  with ideas for a theme that worked well for me - and follow up with more themes in more posts - so, check back!

Camp-In Day

Set up a small tent outdoors (or indoors!) and gather up some quilts and cushions. Make sure you have the fixings for a pretend camp-fire - I found a little aluminum baking pan that we adorned with yellow, orange and red tissue paper flames - some rocks or wooden blocks placed in a circle with some sticks in the middle would do nicely, too!


Meet around the "campfire" to get started - talk about camping and outdoor fun - then go on a little "hike" through your yard, neighborhood or a near-by park. Have a small plastic container along for a sensory tub to be filled with rocks, pinecones, leaves, small sticks, etc.

When you are finished, have a basket of books related to camping available :)  There is a Berenstain Bears book - "Go To Camp" and a great Kevin Henkes story "Bailey Goes Camping" to get you started! While some are checking out books, have the other children rotate through different activities, just like in school, so each child gets to try everything!

For crafts, have available some TP rolls to make into binoculars for viewing nature. Use paint or markers to color or have stickers available to decorate. At another spot, have some sturdy paper and glue to turn your nature finds into a cool art collage! Get a little letter/sound practice in by trying to label the found items! For pretend play, gather some plastic plates and picnic items and they will do the rest!

For a snack, try some trail mix (cereal mixed with raisins and nuts, if permitted) OR assemble your own kid-s'mores, using graham crackers with layers of chocolate cake frosting and marshmallow cream spread on top! Have water or juice available to stay hydrated!

Knowing how kids love "souvenirs," you could also find some tiny compasses and bandannas at a party store or on-line catalog! When you're ready, you can close the "camp" by singing some favorite songs around the fire! Have fun!

Friday, July 1, 2011

Summer Fun!

Surfing around the "blogosphere" is a great way to come up with some new ideas - and some motivation! When the summertime first begins, it's easy to forget about deadlines and timetables and just kick back ... but then, sometime down the road into summer, I always regret the time and opportunities missed for some learning fun!

This year, I decided to start a running list of fun things to do that would keep a child's skills active ... here's what I have so far: (and I "borrowed" extensively from other blogs, but didn't keep track :( - if one of these ideas is mentioned in your blog, or you have an idea to add, please add a link in comments with your URL! Thanks!)

1. Write the story of yourself ... with illustrations! Staple together some computer paper and make a cover - then fill in the pages with your OWN biography ... start with you as a baby and add in some of your big milestones - use photos or drawings and some labels or sentences (written or dictated!) - it will be a KEEPER!

2. Make some mail and send it - a card for a far-away cousin or someone having a special birthday! Draw, cut, glue - make it interesting! In fact, you could get some cards done now for future birthdays and set them aside for mailing later :)

3. Design a new project or toy - save your recycling for a few days and brainstorm what sort of art project you want to do - maybe you will use different objects to print-paint or use some craft glue to assemble something really awesome!

4. Make a summer dessert - ask a grown-up to help you measure, cut and mix things to make something tasty to eat! Dividing up some graham crackers and chocolate bars for S'mores could be math practice!! Work in some counting and some planning skills!

5. Read a book - with a friend! Find a buddy and get two copies of a book - try the library or trade with a neighbor - then read and get together to discuss. You could ask each other questions or just share your favorite part!

6. Make a map of your neighborhood - use some markers and pictures or magazine cut-outs and plan out the roads and buildings in your area ... use symbols, shapes, lines, etc. to make it cool!

7. Take a container and find all the loose change in your house - put it all together and then COUNT it all up - divide it into different coin piles, make patterns with the coins, towers of coins - and then figure out what to do with it all!

8. Make a collage of all things you LOVE - take some magazines and look through for foods, toys, colors, activites, etc. and take time cutting and gluing them all on a piece of paper or cardboard!

9. Read a book about something NEW - go to the library or bookstore and look for something you haven't read about - nature stories, space, people from sports or history or maybe a different culture - fiction or non-fiction!

10. Make your OWN list of fun things to do - check your newspaper and local websites - use your imagination and HAVE FUN!